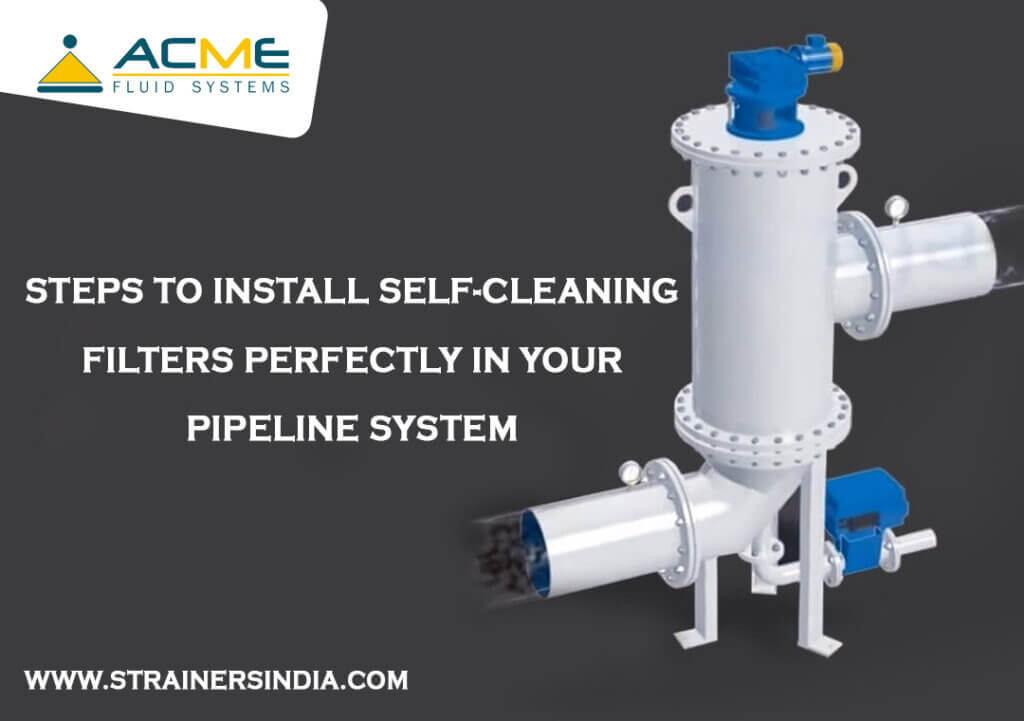
Self-cleaning filters are the most popular and useful filters which are broadly utilized by multiple industries for the continuous filtration of various fluids. As these filters are fully automatic, they can run without any operator and for their self-cleaning systems, they can be cleaned without any hard labor. Continuous filtration, convenient operation, and easy maintenance are all guaranteed by self-cleaning filters.
Although the cleaning process and operation processes of these filters are very easy, the installation process can be a little tough for those who do not have much technical knowledge. For making your work easier, we have come up with some easy steps to install self-cleaning filters. If you follow all these steps, you can install your self-cleaning filter very easily without anyone’s help.
How to Install Self-cleaning Filters Easily and Correctly?
Without sufficient filtration, pipelines in a system can be damaged easily by any type of solid particle and it may also reduce the system’s effectiveness. Your system can face various serious issues if you cannot use the best quality filters for the filtration process of the liquids. For those issues, your system may need costly maintenance, which is not desirable. Self-cleaning filters are the best option to filter all types of liquids efficiently.
Therefore, installing the best-quality self-cleaning filters in your system is a very crucial task. However, to get the best performance from a self-cleaning filter, you need to install it properly in your system. If you do not follow the correct ways to install the self-cleaning filter, it may not give you its best performance. Here are the correct and essential steps to install self-cleaning filters in your pipeline system.
1. Install both Inlet and Outlet Valves
This is one of the most crucial steps to installing self-cleaning filters perfectly. You have to install both the inlet and output valves before installing your self-cleaning filter. Water will be filling the pipeline and the exit valve will maintain high back pressure on the self-cleaning filter. You can maintain the system more easily for the filter and the filtration process will also be easier and smoother after the valves are added.
2. Upstream Pump Before Filtering
To maintain a consistent flow and make sure that your self-cleaning filter is working properly, you will probably require a pump. So, install a pump with your self-cleaning filter, just to be safe and get the best performance from your filter. The pump must be running in order for the filter to function.
3. Maintain the High Pressure
The high pressure of the filter’s downstream side must be kept constant. The self-cleaning filter will not function properly if the pressure of the filter is very low. On the other hand, if the pressure is too high, the filter risk is increased. Therefore, you need to maintain the pressure and keep it constant while installing your self-cleaning filter. Hence, this is a major step to installing a self-cleaning filter perfectly. Additionally, it is crucial that the difference pressure not exceed 1 bar, as this will prevent the filter from successfully starting a flush cycle.
4. Set Up A Pressure Sustaining Valve
You need to set up a pressure-maintaining valve after the filter. The valve needs to be installed with the filter to maintain the pressure when the flush cycle starts. Also, this can be useful when water is added to the system during the cleaning process. So, you must follow this essential step to install the self-cleaning filter correctly to get excellent performance from it.
5. Keep It Spacious
It is one of the most essential steps to install a self-cleaning filter properly. You need to keep enough space around the self-cleaning filter to conduct maintenance easily. The filter has to be disassembled sometimes for maintenance and when working on it, you must keep enough space around it.
6. Install Manual Pressure Gauges
You also have to set up manual pressure gauges with your self-cleaning filter upstream and downstream of the filter. This will be useful for fixing the filter if necessary. It will be simpler to assess the system’s performance if you are aware of the pressure inside. Therefore, you need to follow this important step to set up a self-cleaning filter correctly.
7. Set Up Check and Relief Valves
You also have to set up a check valve after installing the filter to stop the filter from being under pressure. Also, you need to set up air relief valves before or after the piston series. However, because air might aspirate to move upward, it is advised that you may place the best quality relief valve at the head of the line.
Final Words
These 7 easiest steps to install a self-cleaning filter will surely help you to save your time and energy and guide you to install your self-cleaning filter without any additional help. If you strictly follow all these essential steps to install your self-cleaning filter, then you must get amazing and long-lasting performance from your filter and the filtration process will be smoother and quicker.
If you want to install the highest quality self-cleaning filters in your system to filter the fluids perfectly, then you can get in touch with ACME Fluids System. It is a top filter manufacturer and supplier all over India and you can get a wide variety of best-quality filters from us including scraper-type filters, disc-type filters, and so on.
For manufacturing and supplying supreme quality self-cleaning filters, we have become a reputed filter manufacturer in India. Purchase any type of high-quality self-cleaning filter from us at the cheapest cost.
We are also a leading manufacturer Of stainers, Bag Filter, Cartridge Filter, Filtration System, Magnetic Filter .

